
DIY Giant Bubbles – 4 simple ingredients – NEW and improved!

We have updated our bubble mixture and its got even better with 4 simple ingredients you probably already have in your kitchen!
This video shows how big the bubbles can get!
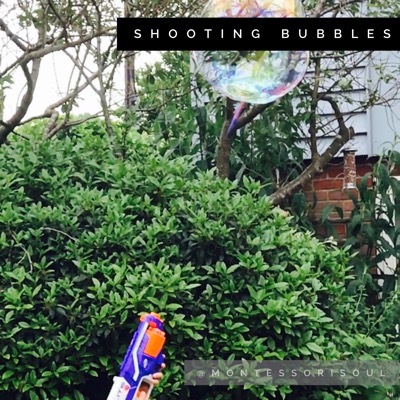
We have played a game called Pop, blow or shoot! Great for listening and patience!
Basically as the bubble floats off you shot Pop Blow or Shoot!
 #
#
Seb loves this Distributor nerf gun – less than £10 and an accurate shot. #affiliate

Top tips for giant bubbles
Making the giant bubbles is a skill in itself!
You need to move quite slowly and then almost snip the bubble off by pulling the sticks together smoothly. You can see Freya doing this in the picture above.
GIant Bubbles Recipe
Ingredients
Glycerine 2 tbsp (affiliate link)
Baking powder 1 tbsp (affiliate link)
Fairy Liquid 1/2 cup
Corn Flour 1/2 cup
HOT (just boiled) water 6 cups
First, we mixed the dry ingredients with a whisk.
Then, we mixed in the Glycerine and hot water.
We found that mixing half the water glycerine mix so that it makes a thick paste with the cornflour and baking powder.
Then add the remaining water to make an opaque liquid.
Finally, we added the fairy liquid – we slowly mixed this so that we didn’t create any bubbles.
You can use this straight away but we have found that leaving it to rest over night makes it even better!

DIY Giant bubble wand
2 Nails
Dowel or sticks (we used two bits of willow) about 40cm long
A weight – you could use a nut – we have used stones with holes or buttons!)
Natural cord or wool – This is my go to I always have a supply. Jute String

First, put the two nails in the end of your wooden rods.
Next cut 2 piece of string. One about 45 cm long, the other about 60cm long.
Put the ends together and tie on to the nail – I used a clove hitch.
No thread the weight onto the other end and then put the other ends together.
Secure with a clove hitch or any knot on the other stick.
I normally leave the string in the bubble mixture for a minute or two before we start blowing bubbles.
We have had so much fun – hope you do to!
As always we hope you enjoy this too! If you have any questions or feedback please email me info@montessorisoul.com .
Facebook: www.facebook.com/montessorisoul please like me to keep up to date with my posts as I make new materials all of the time.
Pinterest: www.pinterest.com/montessorisoul please follow me to see my latest pins and what is inspiring me.
Jo

About The Author